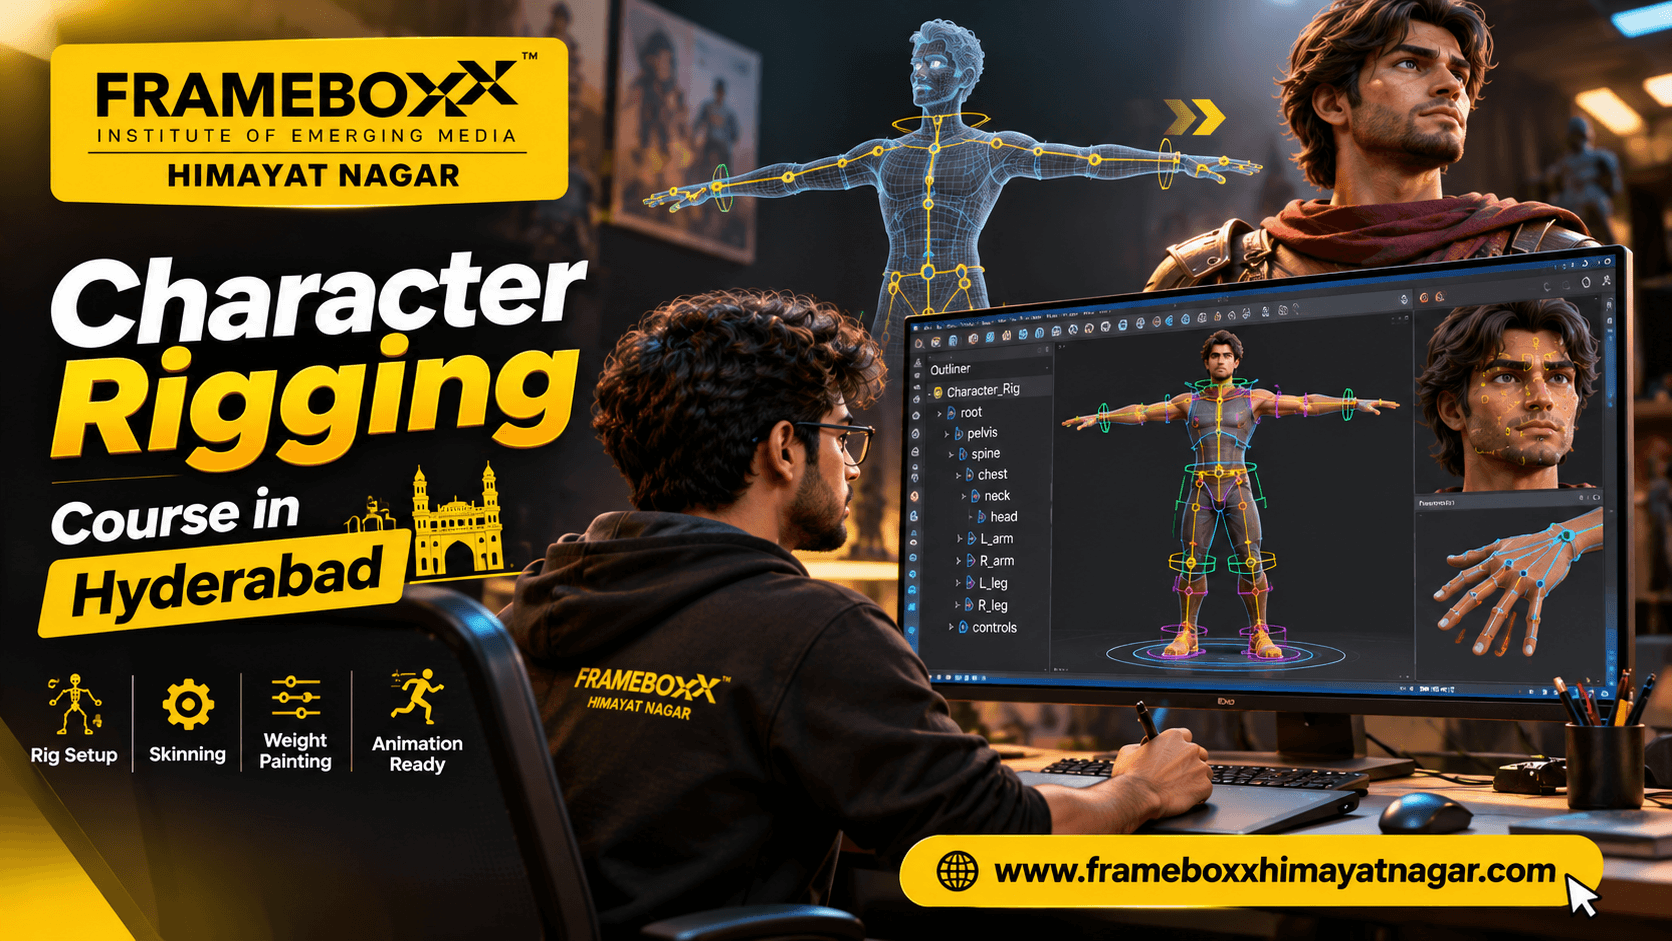
A 3D character may look complete, but how does it bend its arms, walk, run, turn its head or express emotions? The answer is character rigging.
If you want to build the technical skills required to make 3D characters animation-ready, choosing the right Character Rigging Course in Hyderabad can help you understand the complete process, from creating a digital skeleton to setting up controls, connecting the character mesh and testing its movements.
Character rigging is an important part of the 3D animation production pipeline. It connects character modelling with animation by giving animators a structured way to control a character's body and facial movements.
At Frameboxx Himayatnagar, students can explore Animation & VFX and Gaming & Interactive education pathways. If your interest is specifically in character rigging, ask the admissions team to confirm the current curriculum, software and dedicated rigging modules before enrolling.
This guide explains what character rigging involves, which technical skills you should develop, what software is relevant, and how to evaluate character rigging training in Hyderabad.
What Is Character Rigging in 3D Animation?
Character rigging is the process of creating a digital control system for a 3D character so that it can move and perform actions.
A rig generally consists of a digital skeleton, joints, controls, constraints and deformation systems. These elements allow an animator to control the character without manually adjusting every vertex of its 3D model.
Think of a 3D character as a puppet. Modelling creates the puppet's body, rigging creates its internal structure and controls, and animation uses those controls to produce movement.
For example, when a character raises its hand:
- The shoulder and arm joints rotate.
- The elbow bends through the connected joint hierarchy.
- The wrist and hand follow the intended movement.
- The character's skin deforms around the joints.
- The animator adjusts the controls to achieve the desired pose.
A well-constructed rig makes this process predictable and easier to control.
Why Learn Character Rigging in Hyderabad?
Students interested in animation, films, gaming and digital production may want to develop more specialized technical skills instead of learning only general 3D animation.
Character rigging offers a distinct learning pathway because it combines technical problem-solving with an understanding of anatomy, movement and 3D production.
When choosing a Character Rigging Course in Hyderabad, consider:
- Practical rigging exercises: You should have opportunities to build and test character rigs rather than only watch software demonstrations.
- Software knowledge: Understand which applications are taught and whether the curriculum includes professional rigging workflows.
- Technical understanding: Look for instruction covering joint hierarchies, inverse kinematics, skinning, constraints and deformation.
- Character testing: A good learning process should include identifying and correcting rigging problems.
- Portfolio development: You should have opportunities to demonstrate your ability to build functional rigs and present technical breakdowns.
- Career relevance: Understand the difference between a character rigger, technical artist and character animator before choosing your specialisation.
What Will You Learn in Character Rigging Training?
A structured character rigging learning pathway should cover the following areas progressively.
1. Understanding the 3D Character Production Pipeline
Before creating a rig, understand how a character moves through the production process.
A typical workflow looks like this:
Character Concept → Character Modelling → Retopology → UV Mapping and Texturing → Character Rigging → Character Animation → Final Production
The character rigger usually receives a model that has already been created and prepares it for animation.
This means understanding the model's geometry, proportions, joints and intended movement is essential.
2. Skeleton Creation and Joint Hierarchy
A skeleton is the foundation of a conventional 3D character rig.
Students should understand how to create and organise joints for different parts of the body, including:
- Spine and torso
- Neck and head
- Shoulder and arm
- Elbow and wrist
- Fingers and hands
- Hip and pelvis
- Knee and ankle
- Feet and toes
A properly organised hierarchy allows movement to travel through connected parts of the character.
For example, rotating the shoulder should affect the connected upper arm and forearm in a predictable manner.
Students should also understand joint orientation, naming conventions, parenting and hierarchy organisation.
3. Forward Kinematics and Inverse Kinematics
Forward Kinematics (FK) and Inverse Kinematics (IK) are two important methods used to control character movement.
- Forward Kinematics: The animator rotates joints individually through a hierarchy to create the required pose.
- Inverse Kinematics: The animator controls an endpoint, such as a hand or foot, and the connected joints solve their positions to reach the target.
| Feature | FK | IK |
|---|---|---|
| Control method | Rotate individual joints | Move an end control |
| Typical application | Arm rotations and body posing | Foot placement and hand positioning |
| Movement approach | Parent-to-child hierarchy | Solved from the endpoint |
| Main consideration | Requires more individual joint adjustments | Requires careful solver and pole-vector setup |
Both methods have important uses. A practical rigging workflow should help students understand when to use each and how they can work together.
4. Character Controls and Rig Setup
Controls provide animators with convenient ways to operate a character.
Instead of selecting individual skeleton joints, animators can work with organised control objects.
A typical character rig may include:
- Root control for overall movement
- Global control for character positioning
- Pelvis and torso controls
- Arm and hand controls
- Leg and foot controls
- Head and neck controls
- Finger controls
- Facial controls
Control shapes, naming conventions, organisation and intuitive movement are important considerations when building a usable rig.
5. Skinning and Weight Painting
Skinning connects the character's 3D mesh to its skeleton.
Weight painting determines how strongly individual joints influence different parts of the character's mesh.
For example, when an elbow bends, the surrounding geometry should deform naturally rather than collapsing or stretching unexpectedly.
Students should understand:
- Binding a character mesh to a skeleton
- Joint influences
- Skin weights
- Weight painting
- Smooth deformation
- Correcting unwanted mesh distortion
- Testing shoulder, elbow and knee movements
Weight painting is particularly important because even a correctly constructed skeleton can produce poor results if the mesh deforms incorrectly.
6. Constraints and Rigging Relationships
Constraints help control how objects relate to one another.
They can be used for following, orientation, positioning and other rigging relationships.
Examples include:
- Parent constraints
- Point constraints
- Orient constraints
- Aim constraints
- Pole-vector relationships
Understanding these connections helps students create more organised and functional rigs.
7. Facial Rigging and Expressions
Facial rigging provides controls for expressions, eye movement, mouth movement and other facial actions.
Depending on the character and production requirements, facial setups may use:
- Facial joints
- Blend shapes
- Control curves
- Eye controls
- Jaw controls
- Mouth and lip controls
- Eyebrow and eyelid controls
For example, a character may need to smile, frown, blink or open its mouth while speaking.
The rig should allow animators to produce these expressions without creating unwanted deformation.
8. Rig Testing and Troubleshooting
Creating a rig is only part of the process. Testing it is equally important.
A useful rig-testing process includes:
- Checking the character's neutral pose.
- Testing shoulder and elbow rotation.
- Checking wrist and finger movement.
- Testing hip and knee bending.
- Checking foot placement.
- Inspecting mesh deformation.
- Testing facial controls.
- Checking control accessibility and hierarchy organisation.
A rig should be evaluated through actual movement rather than only by looking at its skeleton in a static pose.
Which Software Is Used for Character Rigging?
The software you learn should match your intended animation and production workflow.
Autodesk Maya
Autodesk Maya provides tools for skeleton creation, joint hierarchies, skinning, inverse kinematics, constraints and character rigging.
It is relevant for students interested in technical character setup and animation workflows.
Official reference: Autodesk Maya Character Rigging.
Blender
Blender includes armatures, automatic skinning, weight painting, constraints and forward and inverse kinematics.
It provides an integrated environment for modelling, rigging and animation.
Official reference: Blender Animation and Rigging.
| Software | Relevant rigging capabilities |
|---|---|
| Autodesk Maya | Joint systems, skinning, IK/FK, constraints and character controls |
| Blender | Armatures, automatic skinning, weight painting and constraints |
These are examples of relevant software, not confirmation that both are included in the Frameboxx Himayatnagar curriculum. Ask for the current software list before admission.
Practical Character Rigging Projects to Build Your Skills
The best way to understand character rigging is to build functional rigs and test them through movement.
Here is a suggested project progression for students.
Project 1: Basic Biped Skeleton
Create a simple human skeleton with a correctly organised joint hierarchy.
Skills developed: Joint creation, orientation, parenting and naming conventions.
Project 2: Complete Body Rig
Create a basic rig for a human character, including torso, arms, legs and head controls.
Skills developed: Skeleton organisation, control setup and movement hierarchy.
Project 3: IK and FK Arm Setup
Build an arm rig that supports both forward and inverse kinematics.
Skills developed: IK/FK systems, control relationships and switching workflows.
Project 4: Skinning and Weight Painting
Connect the character mesh to its skeleton and refine deformation around the shoulders, elbows, knees and hips.
Skills developed: Skin binding, joint influences and deformation correction.
Project 5: Facial Rig
Create controls for basic facial expressions and eye movement.
Skills developed: Facial controls, blend shapes or joint-based expression systems.
Project 6: Complete Character Rig
Combine the body rig, controls, skinning and facial setup into a functional character.
Test the character using walking poses, arm movements, bending and facial expressions.
Skills developed: Complete rigging workflow, testing and technical presentation.
These are recommended educational exercises, not confirmed assignments in a specific Frameboxx programme. Request the institute's actual project syllabus.
What Is the Difference Between Character Rigging and Character Animation?
Character rigging and character animation are connected disciplines, but they perform different tasks.
| Aspect | Character Rigging | Character Animation |
|---|---|---|
| Main purpose | Build the control system | Create movement and performance |
| Main responsibility | Make characters ready to animate | Make characters act and move |
| Core skills | Skeletons, skinning, IK/FK, constraints | Posing, timing, spacing and acting |
| Main output | Functional character rig | Animated shots and sequences |
| Technical focus | Deformation and controls | Movement and storytelling |
A character rigger creates the system an animator uses.
A character animator uses that system to create movement, expressions and performances.
Both roles require an understanding of how characters move, but their day-to-day responsibilities are different.
Who Should Learn Character Rigging?
Character rigging may be suitable for learners who enjoy both technical work and creative problem-solving.
- Students after Class 12: Those interested in animation, 3D production and technical creative careers can explore relevant education programmes.
- 3D modelling students: Learners who already understand character modelling may want to progress towards making models animation-ready.
- Aspiring animators: Understanding rigging helps animators understand how character controls and deformation affect their work.
- Graduates: Students from creative or technical backgrounds can explore character rigging as a specialised skill pathway.
- Working professionals: Existing 3D artists and creative professionals may consider rigging training to expand their production knowledge.
You do not need to be an expert animator to start learning rigging. However, basic 3D knowledge, spatial understanding, patience and problem-solving ability are useful.
The actual academic and technical eligibility requirements depend on the programme.
Career Opportunities After Learning Character Rigging
Character rigging skills can be relevant to several roles across animation, film, television and gaming production.
Possible career pathways include:
- Character Rigger: Creates skeletons, controls and deformation systems for digital characters.
- 3D Rigger: Builds rigs for characters and other 3D objects used in production.
- Technical Artist: Works between artistic requirements and technical production workflows. This role generally requires broader technical knowledge beyond basic character rigging.
- Creature Rigger: Develops rigging systems for animals, fantasy creatures and other non-human characters.
- Facial Rigger: Specialises in facial controls, expressions and deformation systems.
- Rigging TD: Works on more advanced rigging tools, systems, automation and production pipeline requirements. This is typically a more advanced technical pathway.
The responsibilities and entry requirements vary between studios. A course should be considered a starting point for skill development, not a guarantee of employment.
How to Choose the Right Character Rigging Course in Hyderabad
Before selecting an institute, evaluate the actual training rather than relying only on the course title.
| Evaluation factor | What you should verify |
|---|---|
| Curriculum | Does it cover complete character rigging workflows? |
| Software | Is Autodesk Maya, Blender or another relevant tool taught? |
| Joint systems | Are skeletons and joint hierarchies covered? |
| IK/FK | Will you learn both control methods? |
| Skinning | Does training include weight painting and deformation correction? |
| Facial rigging | Are facial controls and expressions included? |
| Projects | Will you build and test complete character rigs? |
| Feedback | Will instructors review and help correct your work? |
| Duration | What is the actual programme duration? |
| Fees | What is the complete fee structure? |
| Career support | What guidance or placement assistance is available? |
Ask for a detailed curriculum and examples of student rigging work before enrolling.
A programme that introduces many software features without giving you opportunities to build and test complete rigs may not provide the depth you need.
Explore Animation and VFX Education at Frameboxx Himayatnagar
If you are searching for a Character Rigging Course in Hyderabad, Frameboxx Himayatnagar is an education option to explore for animation, VFX and gaming-related learning pathways.
The institute lists Animation & VFX and Gaming & Interactive programme categories on its course information website.
Students interested in character rigging should speak with the admissions team to understand how the available programmes cover technical character setup and animation workflows.
Before admission, ask:
- Is a dedicated character rigging programme currently available?
- Does the curriculum include skeleton creation and joint hierarchies?
- Are IK/FK, constraints and skinning covered?
- Is weight painting included in practical training?
- Does the curriculum include facial rigging?
- Which software is taught?
- Will students create complete character rigs?
- What are the eligibility, duration and fees?
- What career guidance or placement support is available?
You can explore the official Frameboxx Himayatnagar website and course information portal for current programme information.
Start Building Your Character Rigging Skills
Character rigging requires more than knowing how to create bones inside a 3D model. It involves understanding anatomy, joint relationships, controls, deformation, skinning and the technical requirements of animation production.
If you want to specialise in this area, choose a learning pathway that combines software knowledge with practical rigging exercises and complete character projects.
Interested in learning character rigging in Hyderabad?
Contact Frameboxx Himayatnagar to discuss your animation and rigging interests, request the latest course curriculum and understand which available programme aligns with your career goals.